DIY: Creating Stylish and Functional Planters for Your Home Garden
Share this article:
Ten DIY planters, one Saturday afternoon, zero holes in any wall. The bag of cement is real, the receipts are real, and the build list is open on page two of the notebook.
I am writing this from a forty-two-square-foot rented balcony in Toronto where nine of the ten planters were built on a Saturday afternoon for under thirty dollars apiece, and the tenth — a hypertufa trough that took three weeks to cure — cost me about twelve. None of them required drilling into the building. None of them used the word "hack" in their inception. All of them have receipts.
This is what most DIY planters guides do not give you: the actual cost, the actual hours, the actual reason a project will fail on the first attempt. The conventional wisdom says you can repurpose anything into a planter — and in the most useless sense, the conventional wisdom is right. You can plant a basil in an old shoe. The question is whether the shoe will drain, whether it is food-safe if you grow tomatoes in it next year, whether it survives a winter on a north-facing balcony, and whether you can build the next one in under an hour without a workshop. That is the standard I am applying to every project below.
These are ten DIY planters I have built, killed plants in, rebuilt, and kept. Each one gets a materials cost, a build time, a renter-safe verdict, and an honest note on what failed when I made it the first time.
Loading image...
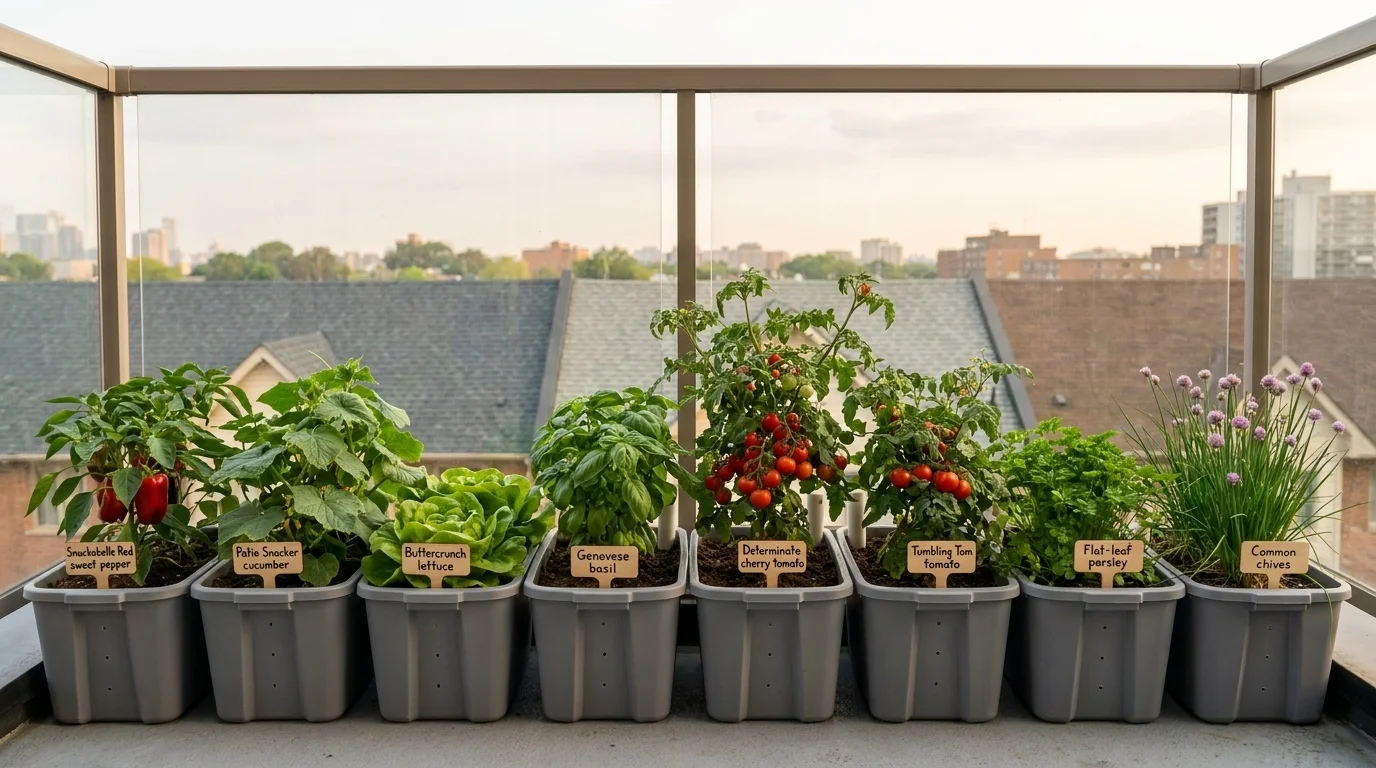
Nine SIPs at $14.60 each, holding pepper-tomato-basil-cucumber through August. Total: under $135 — less than one big-box planter that died on me.
At-a-glance: 10 DIY planter projects compared
Planter
Cost
Build time
Skill
Renter-safe?
Outdoor-safe?
Best for
Sub-irrigated planter (SIP)
$14.60
1 afternoon
Beginner
Yes
Yes
Tomatoes, peppers, anyone who travels in summer
Hypertufa trough
$12
30 min + 21 day cure
Intermediate
Yes (no drilling)
Yes
Succulents, alpines, modern aesthetic
Upcycled crate / paint bucket
$0–$8
20 min
Beginner
Yes
Yes (with liner)
Annuals, herbs, fast turnover
Repurposed kitchen vessel
$0
15 min
Beginner
Yes
Limited (frost)
Indoor herbs, Kratky lettuce
Vertical pallet wall (HT-stamped only)
$0–$15
2 hours
Intermediate
Yes (lean, do not screw to wall)
Yes
Trailing herbs, strawberries, ornamentals
Embellished terracotta
$4–$10
1 hour
Beginner
Yes
Yes (frost-protect)
Statement single plants
Macramé / no-drill hanger
$6
1 hour
Beginner
Yes (tension rod or beam clamp)
Yes (under cover)
Trailing pothos, strawberries
Cedar planter box / raised bed
$30–$60
2–4 hours
Intermediate
Yes (freestanding)
Yes
Salad greens, root veg, anything you want to eat
Cinder block (CMU) planter
$20–$40
1 hour
Beginner
Yes
Yes
Herbs, succulents, low-budget perimeter beds
Fabric grow bag (with DIY ring liner)
$4–$8 per bag
30 min
Beginner
Yes
Yes (UV reduces lifespan)
Potatoes, peppers, anything moisture-loving
The sub-irrigated planter — the only DIY planter I tell renters to build first
Let me save you the forty dollars I wasted on a self-watering planter from a big-box store. The reservoir was too small, the wicking strip was a joke, and the whole thing overheated by the second week of August. A proper sub-irrigated planter — a SIP — is not complicated: two nested containers, an air gap at the bottom, a fill tube, an overflow drain at the reservoir line, and a wicking column of potting mix running down to the water.
I build mine from a pair of eight-gallon storage totes and a length of half-inch PVC. They hold a tomato plant through a seventy-two-hour heatwave without me touching them. Total build: $14.60 in materials, one Saturday afternoon, zero holes in the wall.
You can pay $60 to $150 for a commercial self-watering container, or you can build one for about $20 with a storage tote and weeping tile. I have run both side by side. The DIY one outperforms the commercial one because the reservoir is bigger and the wicking column is longer.
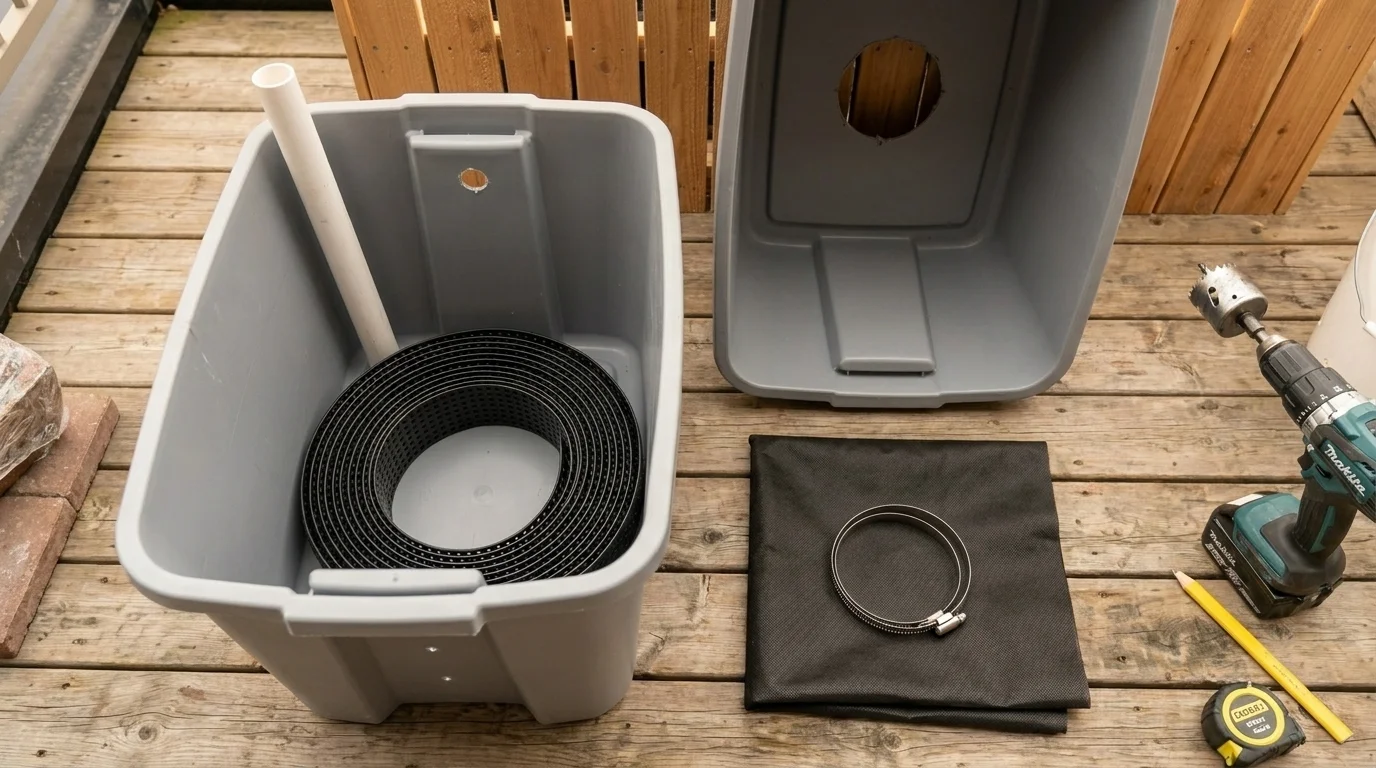
Materials: two 30-litre storage totes ($8 the pair), 1.5 m of 4" perforated weeping tile or PVC ($4), 30 cm of dishwasher hose for the fill tube ($1.60), a strip of landscape fabric, a 1" overflow hole drilled near the reservoir line. Drainage spec: the overflow hole IS your drainage — it caps the reservoir at about 4 cm so roots never sit in standing water.
What failed the first time: I forgot the overflow drain. After one heavy rain the entire reservoir backed up into the root zone and I drowned a nicely-established cherry tomato in twenty-four hours. Drill the overflow before you fill the substrate. Always.
Loading image...
Drill the overflow hole before you fill the substrate. I forgot once and drowned a cherry tomato in 24 hours after one heavy rain. Cheap insurance.
Hypertufa — the cheap modern aesthetic that actually lasts
Hypertufa is the planter the design magazines charge two hundred dollars for and you can mix in a wheelbarrow for twelve. It is the cement-and-aggregate composite invented to mimic volcanic tufa stone, and once you have made one you will quietly stop buying garden centre planters forever.
The recipe finally consolidated around a single dominant ratio in 2024: 1 part Portland cement : 1 part peat moss (or coconut coir) : 1 part perlite or vermiculite, by volume, mixed to a fudge-like consistency. (Empress of Dirt and Lowe's both ship the same ratio now; coconut coir is the sustainable swap Fine Gardening recommends as peat alternatives gain traction.)
Cure timeline — and this is non-negotiable: 24–48 hours wrapped in plastic before demoulding, then a vinegar rinse on day 14 to neutralise the alkalinity that will otherwise burn plant roots, then plant on day 21. Skip the vinegar rinse and your first three succulents will yellow and die and you will blame the soil.
The single warning that matters: use pure Portland cement only. Quikrete pre-mix already contains aggregate and will not give you the texture or the structural integrity. Wear heavy rubber gloves and a dust mask — wet cement is corrosive on skin and the dry dust is harmful to inhale.
Drainage spec: drill or punch 2–3 holes in the bottom before the cement fully cures (around hour 30) — easier than after cure.
Upcycled crates and paint buckets — the zero-dollar planter
I have a row of five-gallon paint buckets along the south rail of my balcony growing peppers, and the first question every visiting gardener asks is whether they leach plastic into the soil. The answer is: original-issue food-grade HDPE paint pails (the white ones, recycling code #2) are reasonably inert and have been used by commercial growers for decades, but a bucket that previously held oil paint, varnish, or solvent is unsafe for edibles. When in doubt, line the bucket with food-safe landscape fabric and grow ornamentals.
Wooden produce crates from grocery loading docks and tin coffee tins are the other two upcycle staples. Both look right immediately, both cost nothing if you ask the produce manager nicely.
Drainage spec: drill 4–6 holes (1/4" to 1/2") in the bottom of any plastic bucket; for wood crates and tin tins, drill 6–8 holes evenly spaced. A thin layer of landscape fabric over the holes stops substrate from washing out without blocking drainage.
What failed the first time: I drilled three pinhole drainage holes in the centre of a bucket bottom and the bucket warped inward over a wet week, sealing the holes against the substrate. Drill more holes, larger, closer to the edge.
Cost: $0–$8 depending on whether the bucket is reclaimed or you buy new at a hardware store.
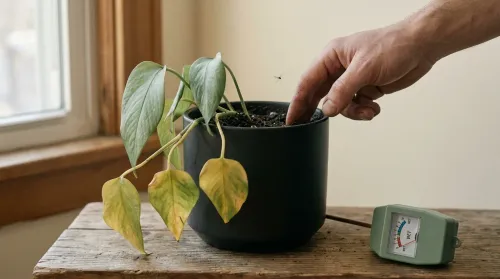
Repurposed kitchen vessels — including the Kratky pickle jar
Tea tins, mason jars, colanders, cracked teapots, and one inexplicable enamel saucepan I found at a stoop sale all do the job for indoor herbs and a single counter-top hydroponic lettuce.
The Kratky method — a non-circulating, passive hydroponic technique developed by Dr. Bernard Kratky at the University of Hawaii — is the single best entry point for anyone who wants to grow lettuce indoors without buying a pump. You fill a reservoir with a nutrient solution, suspend a net pot above it so the roots grow down into the liquid while the crown stays dry, and then you do nothing. I have grown three cuttings of buttercrunch in a repurposed pickle jar on my kitchen counter and I still find it faintly miraculous every time.
Drainage spec: glass and metal vessels without drilled holes need an inch of clay pebbles at the bottom and disciplined watering — assume you will overwater and start from there. Colanders are the exception; they drain instantly and are perfect for trailing herbs if you line them with sphagnum moss.
Renter note: these are the only planters I trust on indoor sills, because the Kratky reservoir cannot leak and the colander dries fast enough to skip a saucer.
Vertical pallet wall — and the safety stamp every editorial outlet skips
The conventional wisdom says any wooden pallet you find behind a hardware store is fair game for a vertical herb wall. The conventional wisdom is wrong, and this is the part of the article that the top-ten editorial pages do not bother to write.
MB = methyl bromide. Unsafe — never grow edibles in this pallet. Methyl bromide has been prohibited since 2005 but plenty of MB pallets are still in circulation.
DB = debarked. A process marker, not a safety marker — look for HT or KD alongside it.
No IPPC stamp at all? Walk away.
Once you have an HT-stamped pallet, the build is straightforward: sand it back, line the back and bottom with landscape fabric, fill with a peat-free potting mix, and lean it against a wall at about 70 degrees. Cost is between zero (reclaimed) and about $15 if you have to buy fabric and screws; build time is two hours.
The 2026 version of this project that is currently winning Pinterest is a pallet painted matte black, mounted vertically, planted with trailing herbs and strawberries — see Crazy Laura's pallet roundup for the visual reference. The matte black makes the pallet read as architecture instead of as a found object.
Renter note: lean it. Do not screw it into the wall. If the wall has a railing, two zip ties around the railing hold it permanently with zero hardware.
Drainage spec: the gaps between pallet boards are your drainage. Do not seal them. Add 1" of perlite at the bottom of each row to stop substrate compaction.
Embellished terracotta — the cheapest aesthetic upgrade in gardening
A standard 8-inch terracotta pot costs $4 at a hardware store and takes paint, mosaic tile, or decoupage in an hour. The aesthetic ceiling is genuinely high — there is a reason the same pot has been in production since the Romans.
Two things I have learned the hard way: (1) seal the inside of the pot before you plant, otherwise the porous terracotta wicks moisture away from the substrate and you will water twice as often as you should; (2) terracotta cracks in a hard freeze. Bring them inside or under cover before the first frost if your winters are real.
Drainage spec: the existing centre hole is sufficient. Do not block it with a shard "for drainage" — that piece of folk wisdom has been disproven for decades and the shard actually impedes flow.
Cost: $4 for the pot, $5–$10 for paint or tile. Build time: 1 hour active, plus drying.
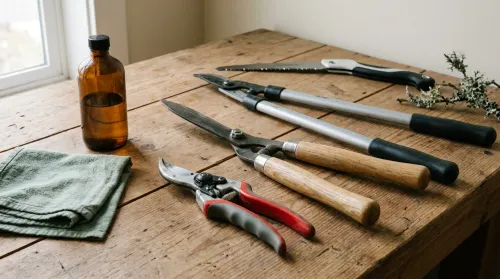
Macramé and no-drill hanging planters — the renter's hanging garden
A handmade macramé hanger made from cotton rope holds a 6-inch pot at a comfortable weight rating of about 3 kg wet — enough for any pothos, spider plant, or trailing strawberry runner you want to suspend.
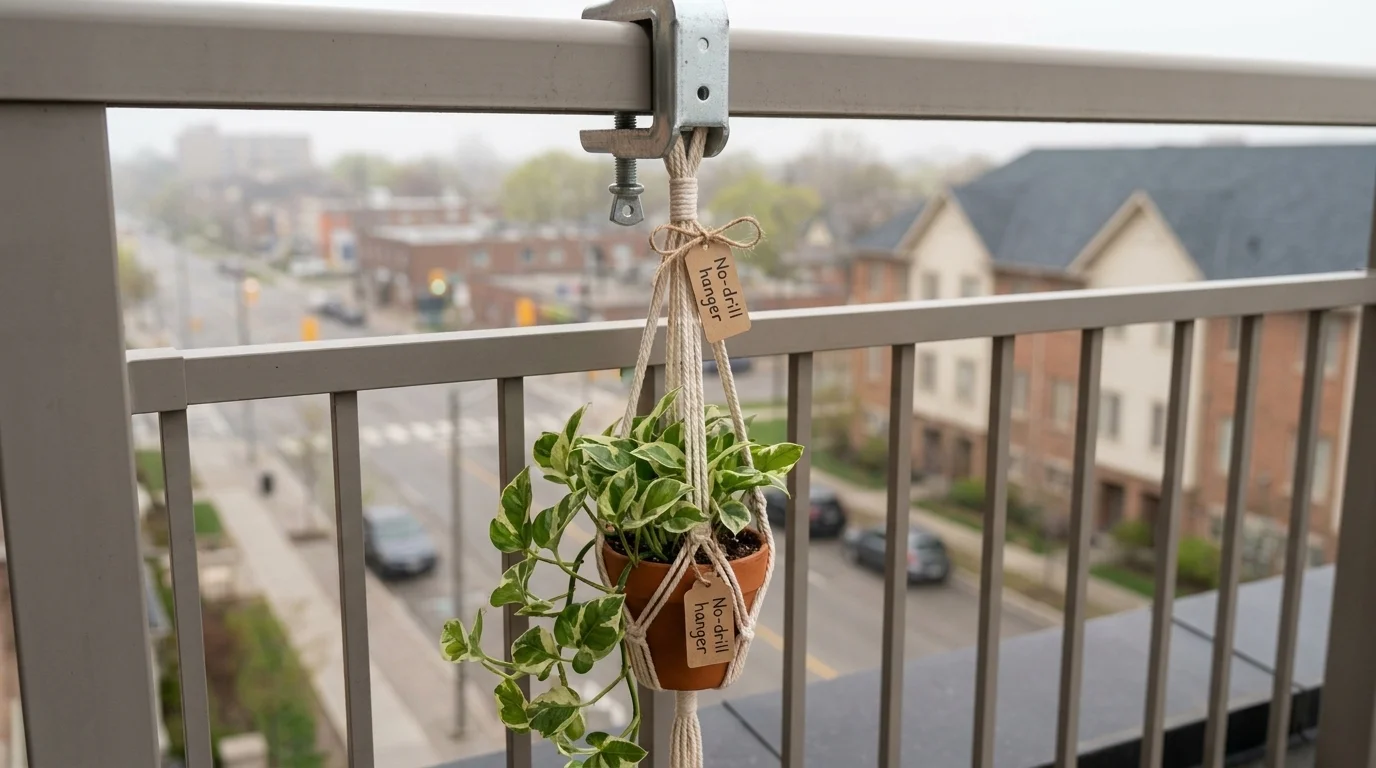
The catch for renters is the suspension point. I do not drill into ceilings. The two methods that work: a tension rod wedged across a window frame or balcony beam (rated for 5 kg, costs $15), or a beam clamp (the kind tradespeople use for temporary lighting, $8) that locks onto an existing ceiling beam without screws.
Cost: $6 for cotton rope to make the macramé hanger yourself; the YouTube knot tutorials are honestly the best teachers here. Build time: 1 hour for a basic four-cord hanger.
Drainage spec: hanging planters always need a drip tray. Do not skip this. I learned by ruining a hardwood floor.
Loading image...
A tradesperson's beam clamp does what a hardware-store ceiling hook cannot: holds a saturated pot through cross-wind, no screws in the building.
Cedar planter box and reclaimed-wood raised bed — the build for actual food
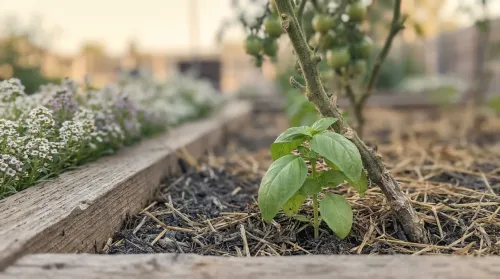
A 4 × 2 ft cedar planter box, two boards high, holds enough substrate for a respectable run of salad greens, bush beans, or determinate tomatoes. Cedar is the right wood here because it has natural rot resistance and is food-safe; redwood is the same story if you can get it; avoid pressure-treated lumber for any planter you intend to grow edibles in — the chemistry has improved since the old chromated copper arsenate days, but there is no upside to taking the risk.
A cedar fence-picket beginner planter box: under $30.
A small tiered cedar planter: about $10 if you are scrappy.
A single 4×4 ft raised bed filled with substrate: about $60 all in.
Materials for a 4 × 2 ft box: four 6-foot 1×6 cedar boards ($25), one 8-foot 2×2 cedar for corner posts ($6), galvanised deck screws ($4), drill, saw. Build time: 2 hours including cuts.
Drainage spec for wood: drill half-inch drainage holes every 6 inches across the entire bottom panel. Then line the inside with landscape fabric (not plastic — landscape fabric breathes; plastic will pool water and rot the wood from inside).
What failed the first time: I lined the inside with construction-grade plastic instead of landscape fabric. The bottom rotted out in eighteen months.
Loading image...
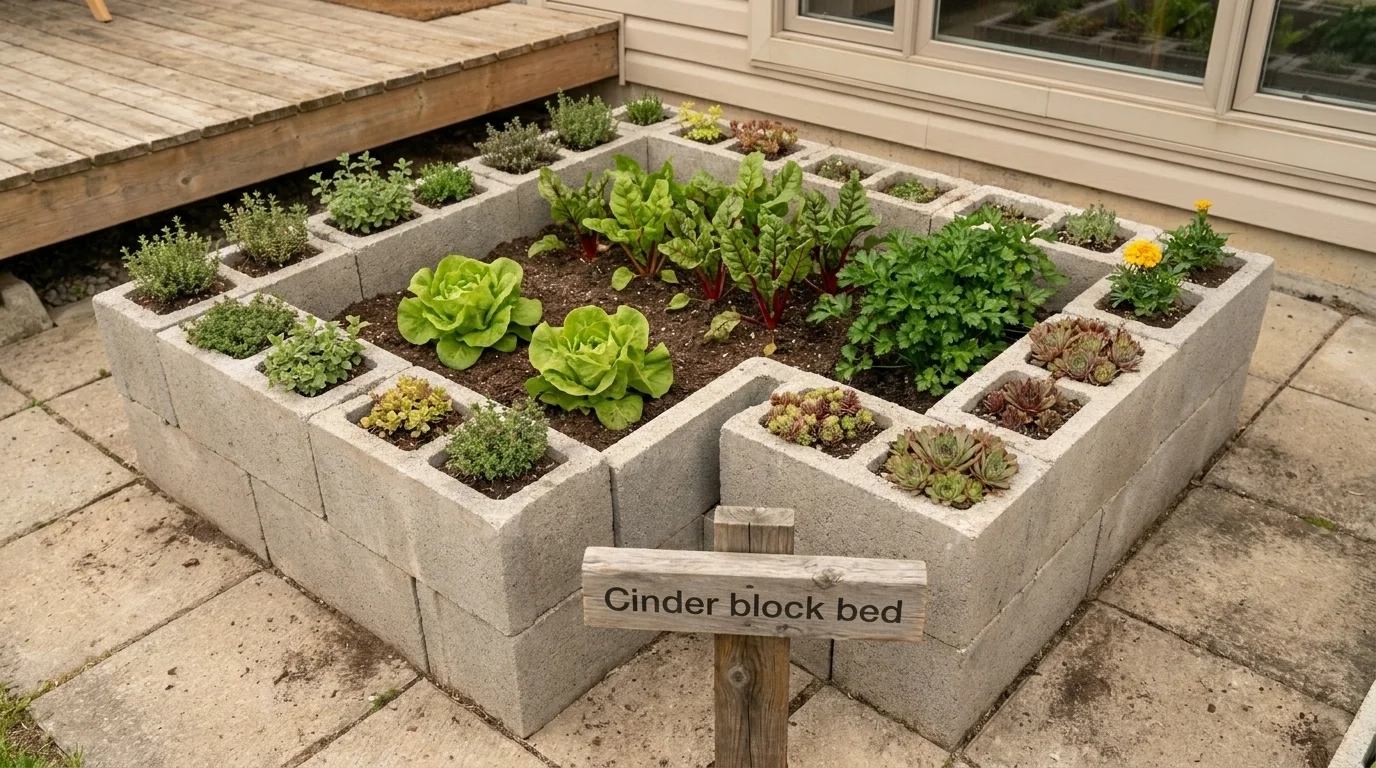
Fifteen CMU blocks at $2.50 each — under $40 for a perimeter raised bed. The hollow cells become mini-planters for thyme, sedum, or marigold.
Cinder block (CMU) planter — the industrial perimeter build
This is the single biggest project the editorial DIY-planter listicles ignore, even though "cinder block planter" gets 1,900 monthly searches and peaks at 3,600 in spring. Modern concrete blocks (often labelled CMU — concrete masonry units) cost about $2.50 each at a building supply, and a U-shape or L-shape arrangement of fifteen of them produces a perimeter raised bed for under $40.
The safety nuance every other article skips: blocks sold today are concrete masonry units made of cement, sand, and aggregate — they do not contain fly ash and are generally considered safe for ornamentals. Older true "cinder" blocks (1940s–1970s) sometimes did contain fly ash with trace heavy metals. If you are sourcing reclaimed blocks of unknown age and you intend to grow edibles, line each cell with landscape fabric and seal exterior surfaces with a food-safe polymer paint, or stick to herbs and non-root vegetables planted directly in the soil-filled cells.
Build: stack the blocks in your chosen layout (no mortar needed for a single course at planter heights), line the inside with landscape fabric, fill with substrate. The hollow cells in each block become individual mini-planters for succulents, dwarf herbs, or pollinator annuals — that is the design payoff.
Cost: $20–$40 depending on block count. Build time: 1 hour. Drainage spec: the gaps between unmortared blocks drain on their own; for a sealed bed, drill 1/2" holes through the bottom course.
Fabric grow bag with a DIY ring liner — the project that fixes the ugly
The catch: fabric bags only last 3–5 seasons typically, up to 8 if heavily protected from UV (Gardening Rise comparison). They also look frumpy.
The DIY trick that fixes the aesthetic: cut a 4-inch strip of decorative outdoor fabric, wrap it around the bag at the rim like a band, and secure it with a few stitches or a hot-glue line. Costs another $2 in fabric per bag. The fabric ring hides the geotextile, lets you colour-coordinate a row of bags, and slows UV degradation on the band area where it usually fails first.
Best for: potatoes (the bag walls breathe, which potato tubers love), peppers, anything moisture-loving where the 40% drainage improvement is a feature.
Drainage spec: none needed. The whole bag is the drainage system.
Which planter is right for you?
If your constraint is no balcony hardware allowed and you travel in summer, build the SIP. The reservoir buys you a week of unattended watering.
If your constraint is you want one beautiful object on a small surface, build the hypertufa. It will outlast every plastic pot you have owned.
If your constraint is zero budget, take the paint buckets and the produce crates. Drill the drainage holes properly, line them with fabric, and they will hold a season of greens for free.
If your constraint is you want to grow real food in real volume, build the cedar planter box or the cinder block bed. Both are food-safe, both are renter-friendly because they are freestanding, and both take a full salad rotation.
If your constraint is you garden indoors only, take the kitchen-vessel route — and if you want to leave the apartment for a week without watering anything, set up the Kratky jar.
Every project above is built and growing on my forty-two-square-foot balcony as I write this. None of them required permission from a landlord, and none of them required a workshop. Pick the one that matches your weekend, your budget, and the constraint you are actually solving for.
Are wooden pallets safe to use as vegetable garden planters?
Only pallets stamped HT (heat-treated) or KD (kiln-dried) alongside the IPPC logo are safe for edibles. Avoid any pallet stamped MB (methyl bromide — banned since 2005 but still in circulation) and any pallet without an IPPC stamp at all. DB means debarked and is a process marker, not a safety one. When in doubt, line the pallet with food-safe landscape fabric and grow ornamentals only.
How do you build a DIY self-watering planter on a budget?
A weeping-tile-in-a-tote SIP costs about $20: a plastic storage bin, ~6 ft of 4-inch perforated drain pipe coiled in the base as a reservoir, a length of dishwasher hose as a fill tube, landscape fabric over the reservoir, and a small overflow hole drilled near the top of the drain pipe. Fill with potting mix and water from the fill tube — the soil wicks moisture up over 3–7 days.
What's the right hypertufa mix ratio, and how long does it cure?
Mix 1 part Portland cement (pure only — not Quikrete pre-mix), 1 part peat moss or coconut coir, and 1 part perlite or vermiculite by volume, then add water until the mixture holds a fudge-like ball. Demould at 24–48 hours. Rinse with diluted vinegar at day 14 to neutralise alkalinity. Plant at day 21. Wear heavy rubber gloves and a dust mask — wet cement is corrosive and the dust is harmful.
Are cinder block planters safe for growing vegetables?
Modern concrete blocks sold today (often labelled CMU — concrete masonry units) are generally considered safe for ornamentals, but older true 'cinder' blocks may contain fly ash with trace heavy metals. If you're growing edibles and unsure of the block's age or origin, line each cell with landscape fabric and seal exterior surfaces with a food-safe polymer paint, or stick to herbs and non-root vegetables planted directly in the soil-filled cells.
What's the cheapest DIY planter for beginners with no tools?
Reclaimed wooden crates, tin cans, and paint buckets cost $0 if scavenged and need no construction — drill 2–3 drainage holes, line with landscape fabric, fill with potting mix, plant. A cedar fence-picket planter box runs about $10–$30 and needs only a saw, drill, and screws. Skip pressed-wood and pallets without HT/KD stamps.
VerdeNook is more than just a source of gardening wisdom; it’s a platform for sharing, learning, and growing together. We invite you to join our community, share your stories, and spread the joy of gardening. Let’s sow the seeds for a greener, healthier, and more sustainable future, one garden at a time.